Tuesday, March 13, 2012

Pre-Pinterest and Post-Pinterest

I am sorry that this is ANOTHER post about pinterest but I just can't help but LOVE that site! Having said that, I want you to know before Pinterest I did do some pretty neat things/ideas on my own! ha! :) Please don't judge me :)
The most being Avery's Big Girl Room:
Painted dots on a white picture frame.
I painted this lamp & added the circles on the shade and painted her initial blocks.
Hot glued ribbon to her hamper.
And I didn't want to mess with trying to hang these by the 2 holes in the back (I DESPISE IF THERE ARE MORE THAN ONE HOLE!) so I cut ribbon, hot glued to back of each letter, tied in a knot and wa-la!
This is one of my favorite ideas...this is a quilt rack that I got as a gift in 1990!!! I painted it and use it to hold my jeans!
I thought of this on my own too....basic shelf, I added nails (to be exact they are called hard cut masonry) to hang my necklaces from. I also did this to a shutter in nursery to hang hats, etc. from.
This is also another of my ideas for my scarves, I got a peg shelf and hung it on the back of a closet door.
I got these CUTE containers at Amish Country Peddler where I work (yes we just got them in). You can write on them! BTW that is the print I did then ordered it on canvas.

Now for Pinterest ideas:
They showed various ways to store your ribbon but I found this hanger also at ACP and it works PERFECT!
I loved this idea! I got this paper towel holder at Wmart for $2.37. It's perfect for bracelets and I added a couple watches. Now I can actually see my bracelets vs them being in a basket!
Another project I'm having put on canvas. Thanks Janna/pinterest for the idea!
Ok not sure if this was on pinterest but I saw this at my friends house couple weeks ago and thought how cute and easy (not to mention CHEAP) that would be to make! Got the butterfly already painted at Wmart for $.53 and I had the ribbons, just hot glued them on.
so cute and Avery loves it too b/c now we can see and find the matching hair clips.
I'm tired of constantly picking stuff up, yelling, spanking Avery (which BTW isn't working) so Janna had done these (thanks pinterest!) so I made one for Avery. She loves it. It's a chore chart! Very cheap to make too.
I figure if I'm making one might as well make two and Alex needs to start earning her keep! :)
So for during her chores and going above and beyond Avery gets to put gems in her jar. Once filled she gets a cheap surprise. So far this is working like a gem (hardeee-har-har!) I let her put several in at a time since it will take forever, however is she's naughty or doesn't listen then I take some out! I came up with this on my own out of desperation.
Well there you have it! I hope I've given you some good ideas to help make your life easier!

Thursday, March 1, 2012

More Pinterest Projects!

Ok so I'm still busy doing pinterest projects and my latest addiction is a pin I found on picnik that you can make signs!!!! For those of you wondering I didn't follow the directions on either of those pins I messed around and found an easier way to get started on making signs! I LOVE them and want to make a million of them ;) Someday I hope to have a playroom (it will probably be our attic) for the girls that I can hang these in there.

Our family's important dates to remember! I ordered this on canvas also.


I made a holder for Avery for her uno cards :)


I haven't ordered this yet, will order this as a print and frame it.


I just ordered this yesterday on canvas and will display it on their little table downstairs. LOVE!


I haven't ordered this either but will again order it as a print and frame it.


I've had this peg board forever and just made the loads of fun sign, I say it with sarcasm b/c laundry really isn't fun in my opinion!


This wasn't exactly what I had in mind but I haven't been anywhere besides Wmart and this was the only sizes of canvas they had so I improvised. I want to do some pictures on the entire canvas for Josh's office at work.


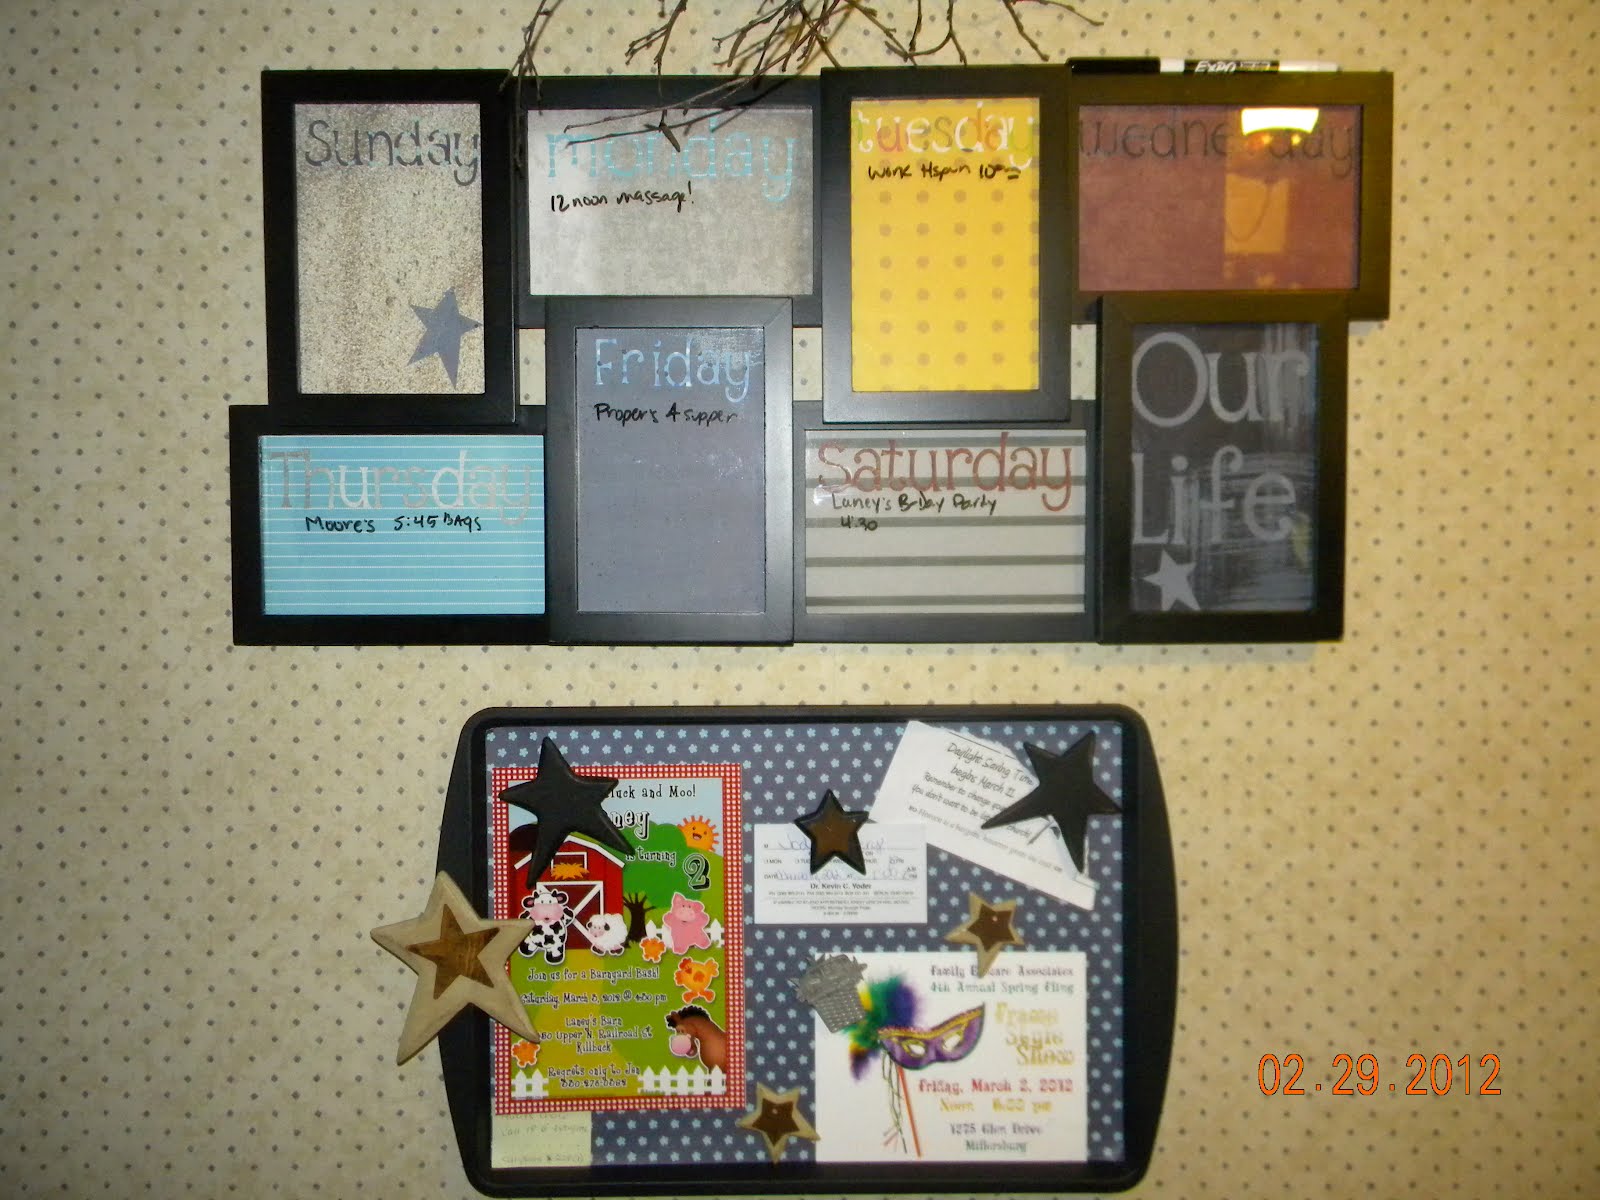
I had made the dry erase calendar weeks ago but I wanted something to put our appt cards, invites, etc. (I have a cork board but it was way to big for this area) so I thought why not try the cookie sheet and magnets. Cookie sheet was $.96, flat black spray paint $.97, used scrapbook paper I had.........


and for the magnets, I had the big black star ones but got these at Homespun which come with a nail in them (even at regular price the big one was $1.49 & sm ones were $.59), took the nail out, cut off some stars from garland I had, hot glued them on and glued a magnet on the back! It's perfect for me and so cheap to make plus I love having everything in one place!


Ok out of order but that's ok, this was the first sign I did and took me FOREVER since I was going off of 4 different signs, using my own words and this being my 1st sign on picnik and all then when I ordered it on canvas the words were too big so it took again FOREVER and a day to get it just right! Then after I ordered it I was so MAD that I didn't put BEAR HUGS in there....ugh! Oh well.


It came yesterday and I do love it, sorry about the glare!


Not the best picture but my latest project was this......I used cricut cuttable adhesive-backed vinyl, now to wait on June when she turns 5 for a 5 yr picture then hers will be complete then it's Alexandria's turn :)


and I know you are all wondering if I will continue to do these for the girls' every 5 years...that will be a NO! ;) I was going to put Avery's hand and foot prints but I liked this better.

Sunday, February 19, 2012

Step by Step....

Well 4 more projects done....woohoo!!! I saw this on pinterest which took me to the etsy site so there weren't any step by step instructions on how to do these so I figured it out on my own!


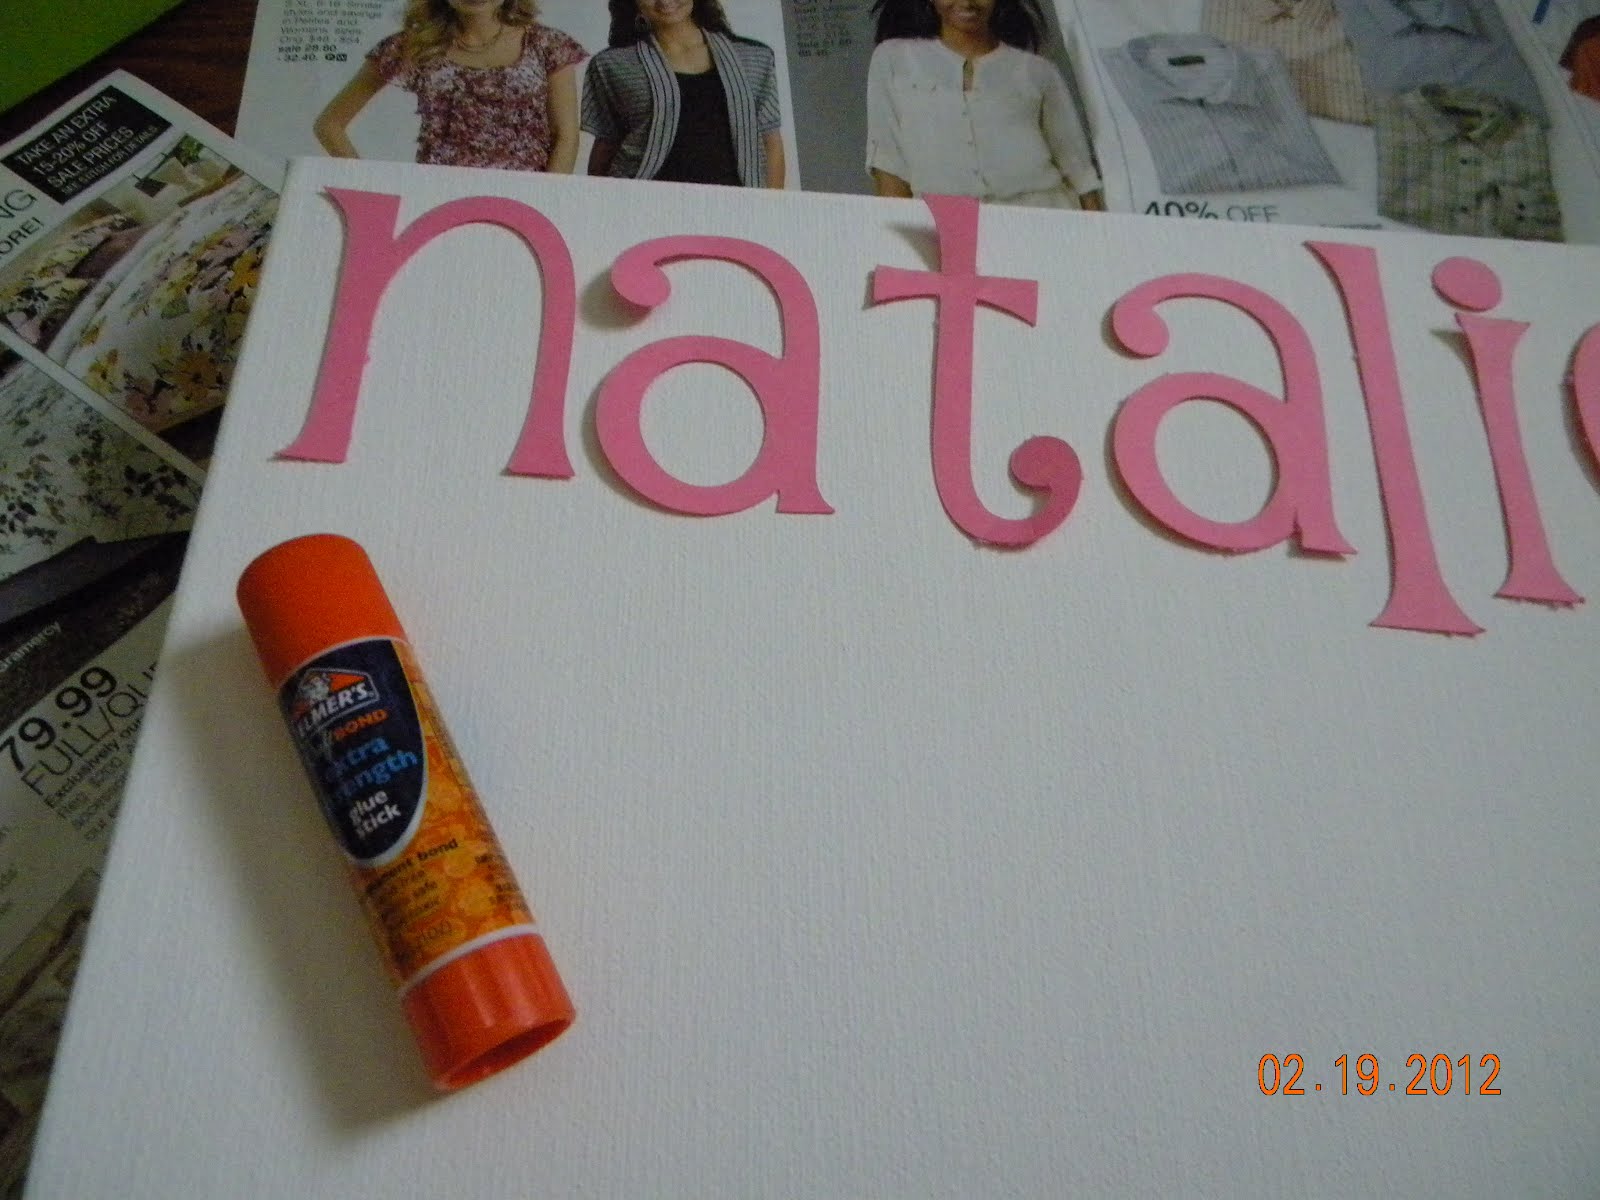
Step 1. Cut out letters on my cricut - over and over again till I got the spacing right....ha! I used cardstock.


Step 2. I used a 12x12 sheet of paper to go by since I was going to do these on 12x12 canvases.


Step 3. Paint the canvas, I just used a foam brush for this. I didn't like the the color of purple so with the 2nd coat I mixed in some black and loved the color much better!


Step 4. The part I hate.....gluing everything down! I just used a glue stick. I had adhesive spray but I had never worked with it before so I didn't try it.


Step 5. Paint it with mod podge in MATTE! I don't like glossy things but if you do then get the mod podge glossy. I invested in a good brush.


Step 6. Don't freak out like I did with the 1st one it will dry CLEAR! I put 2 coats on and let them dry in between. The first one I did I have drip marks on the top b/c I couldn't see them till I went to mod podge the sides and it was almost dry already :(


Step. 7 ENJOY! These are the 4 I did with different colors and styles.


Wednesday, February 15, 2012

Valentine's Day 2012!


Sorry haven't posted in ahwile! :)


Shirts from Mimi for Valentine's Day!


Ok this made me sweat!!!! Finally got Josh to help me and this was the best I was going to get :) Still LOVE it!


I knew we were going out to eat on Valentine's Day and wanted Josh to be home when Avery opened her Valentine's. She is just so appreciative of everything even if she doesn't know what it is! :)


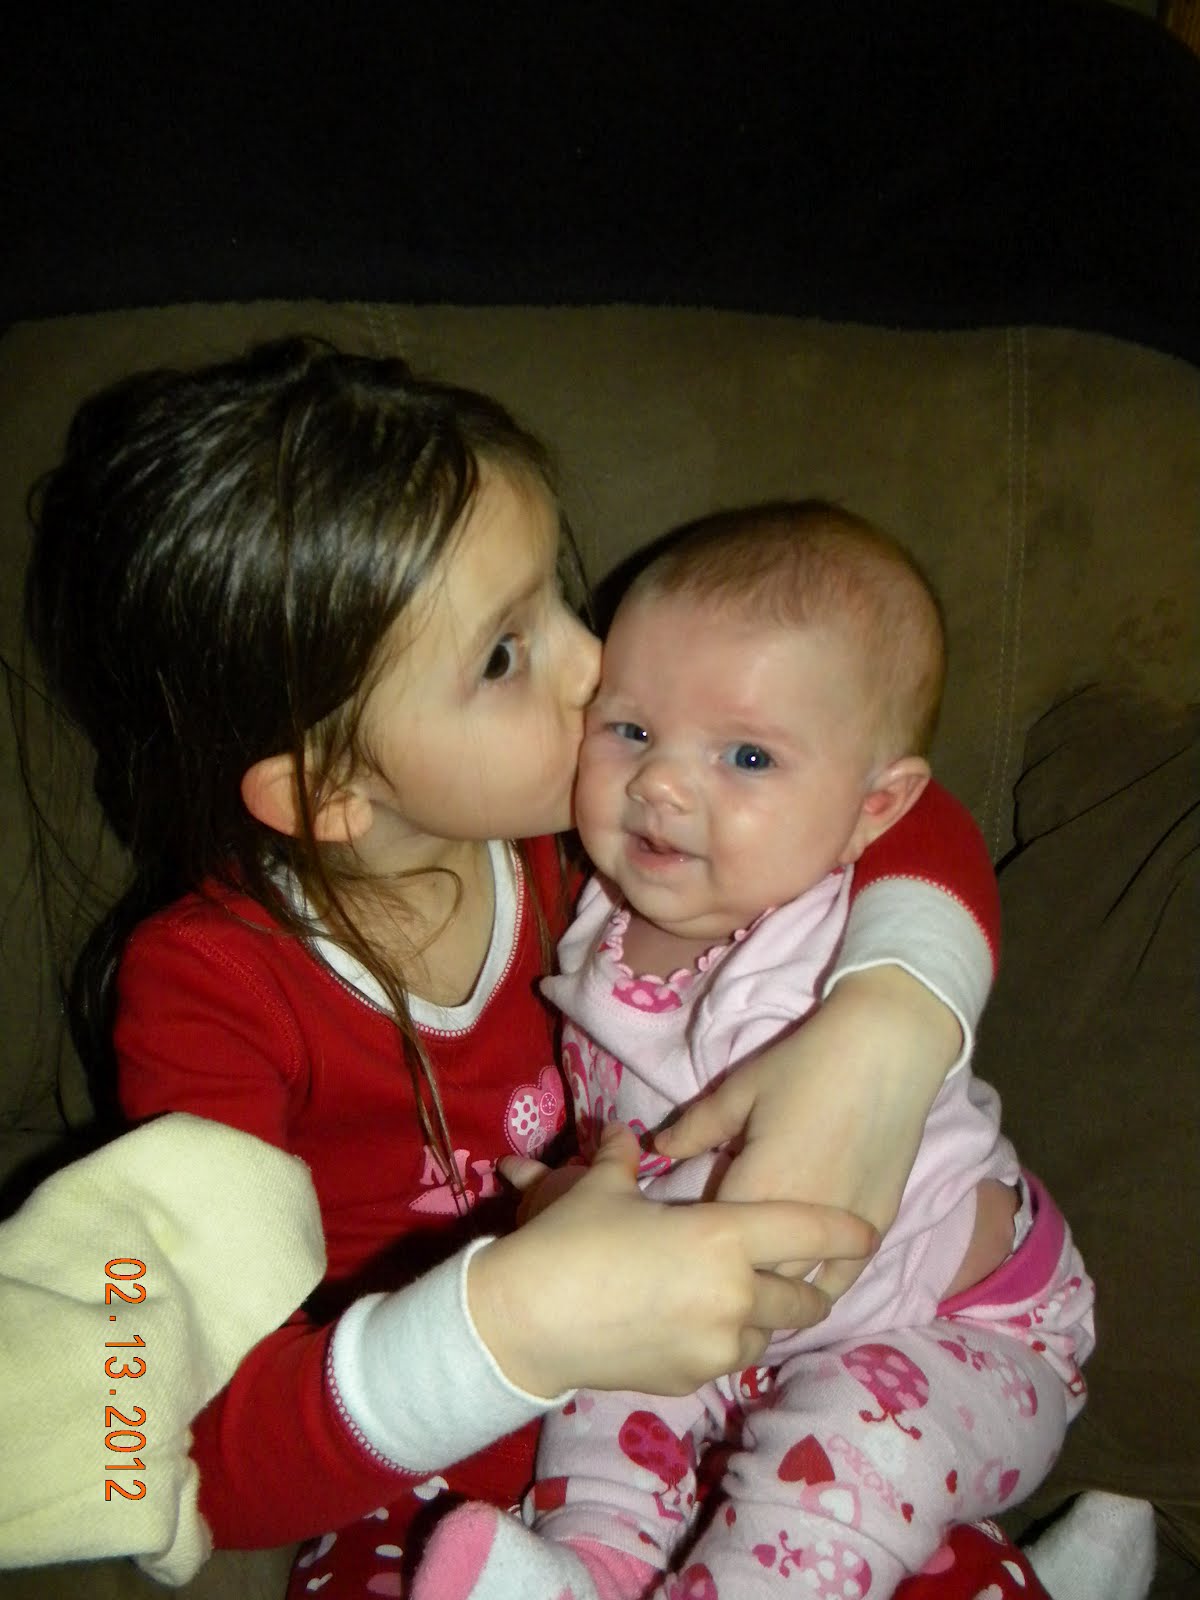
Avery is still lovin' on her lil sister :) She still tells me she's soooooo happy we had a girl!


Almost 3 mos old!!! WOW!


I know it looks like raw hamburger, right?! She was thrilled when I made the rice krispy's pink!


Nana came over to give the girls' their Valentine's Day gifts.


Avery got fried ice cream for dessert!


The girls!


Party Day at school!


Passing out her treats!


and then eating all the treats :)


Best friends!


Weeeeeeeeeee!